Bringing life back into an old piece, but with a twist.
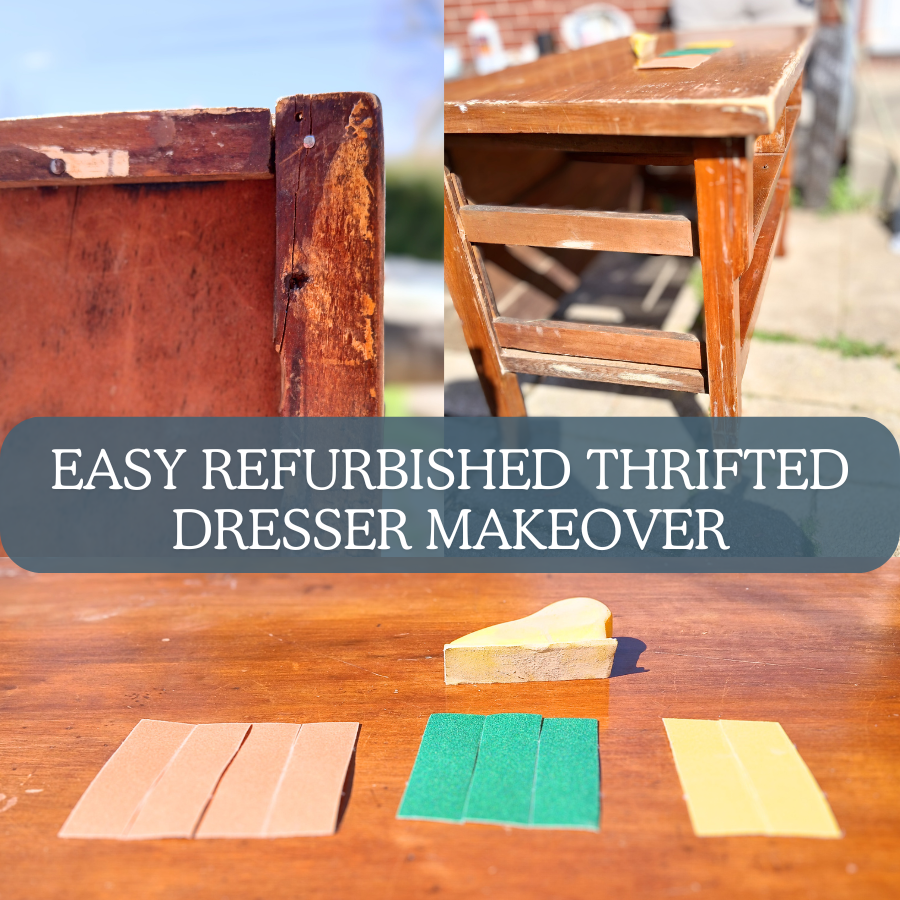
There’s nothing like seeing the opportunity in an old piece and bringing it back to life. Becoming inspired by the beauty that is already present in the piece then to add your own unique touch to create something completely new. It’s definitely a satisfying moment when you can infuse old and new in a harmonious way. Take a look at this easy refurbished thrifted dresser makeover.
Don’t be daunted by the work it takes to complete a diy project, it can be easier than you believe. Start out with techniques you are comfortable with, then slowly increase your quality with newly learned skills. This easy refurbished thrifted dresser makeover was a fun project.
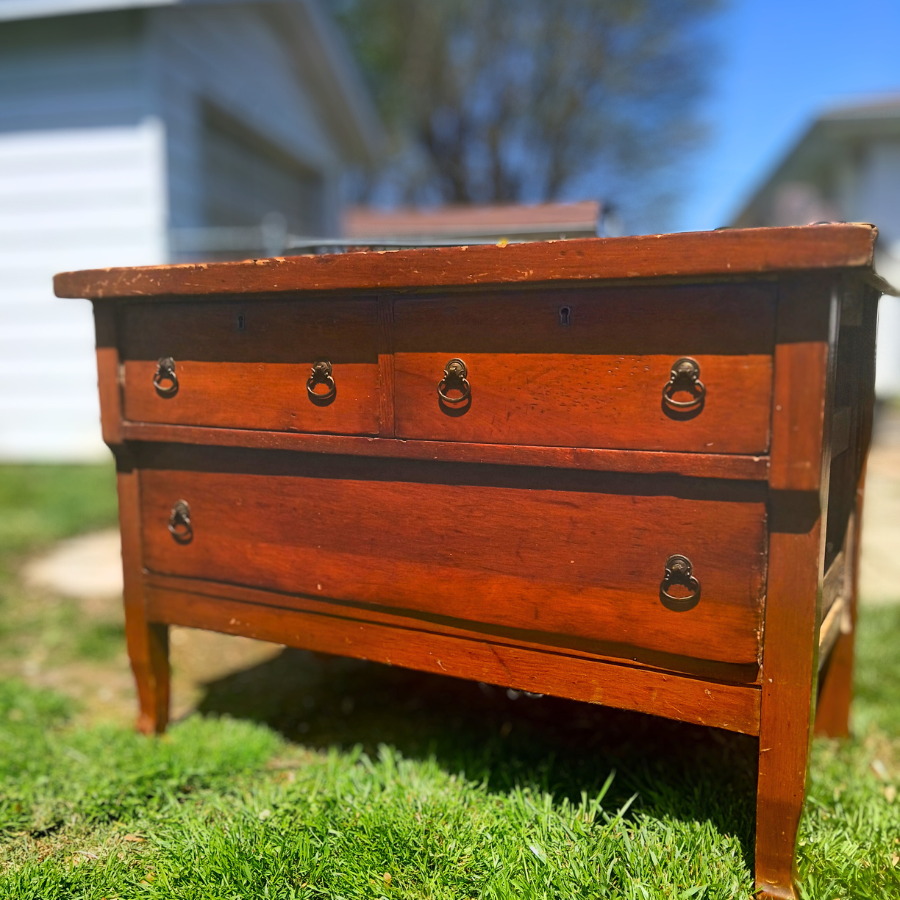
I knew when I was planning my son’s room, I had to think toddler friendly. So, to Facebook marketplace I went. I was looking for a cute but cheap vintage dresser, the more banged up the better. The idea was to get something I wouldn’t care if my toddler beat the crap out of it.
The best thing about a thrifted item is there is always a chance to refurbish it to give it a more curated look. I had a color scheme in mind when I was daydreaming about his room, so that was an easy decision. I also knew I wanted to try to keep some of the original stained wood somehow.
gathering up the supplies
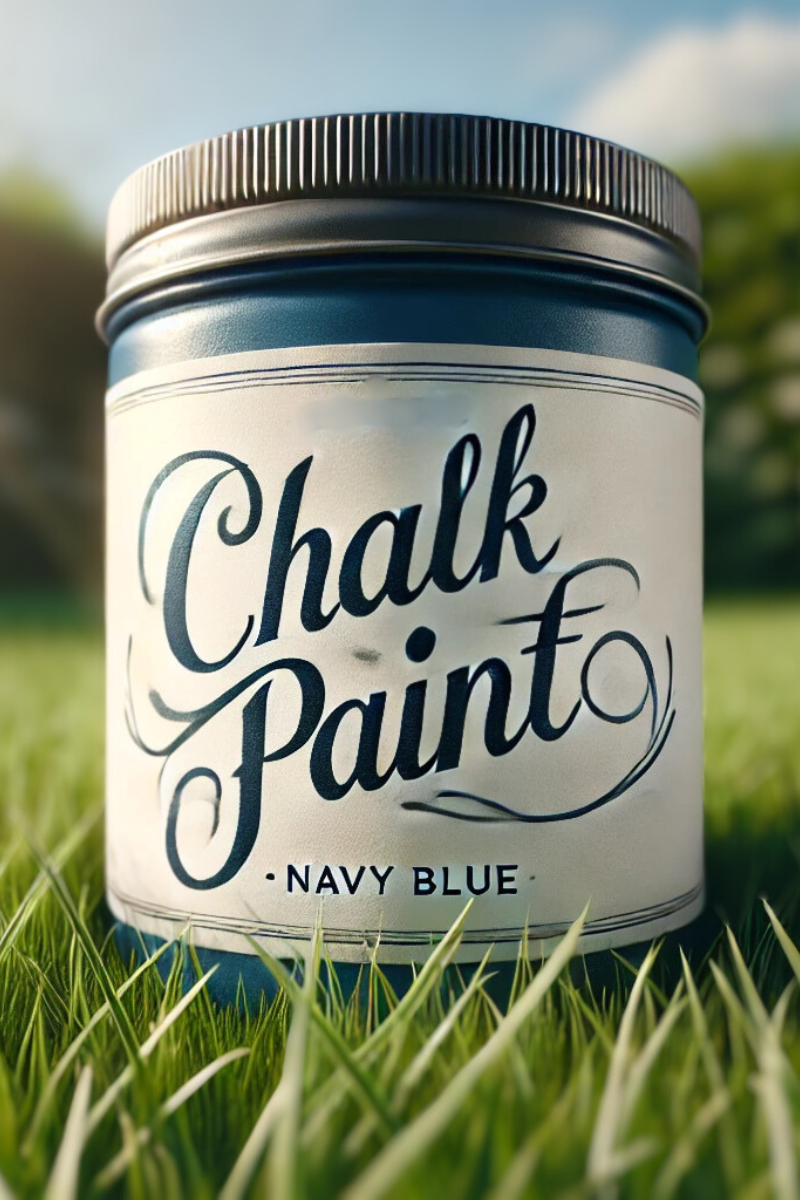
One of the best places to look for diy or refurbishing supplies is the flea market (one of my favorite places in the world). One Sunday afternoon I was able to find the perfect shade of navy-blue chalk paint and new paint brushes. The rest I was able to get with a quick trip to Walmart.
This page does not contain any affiliate links – all links are placed for the readers convenience
supplies used for this easy refurbished thrifted dresser makeover
- chalk paint
- wood putty
- sandpaper (3 different grit)
- all-purpose cleaner / rag
- matte chalk paint varnish
- paint brushes
clean clean clean
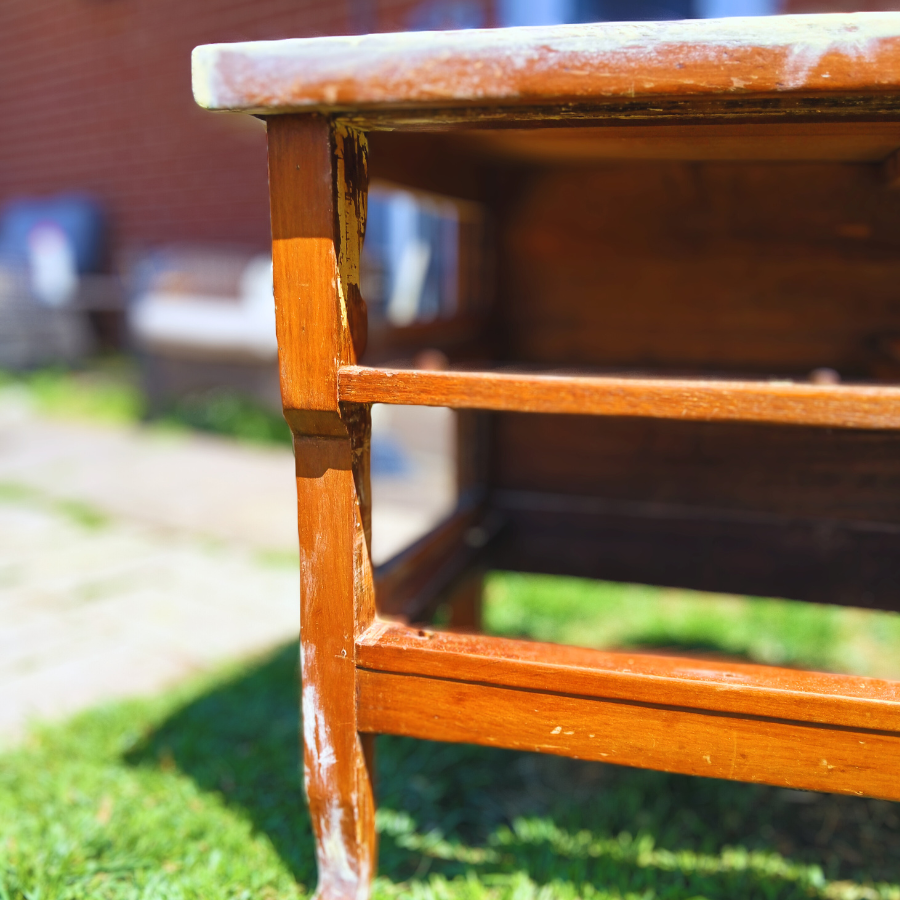
Before any diy project, you want to make sure to clean the surface of the item. I used just an all-purpose cleaner that I had laying around, but you can use a degreaser as well.
After I thoroughly cleaned the dresser, I grabbed my wood putty and got to work. There was a few cracks and nail holes that I wanted to fill in. My goal was to get the smoothest finish possible and was also hoping it would help extend this little dresser life. With the amount of cracks this dresser had I knew I needed to paint this dresser rather than re-stain it.
sand away the excess putty to get a smooth finish
Once all of the wood putty was dry, I was able to start sanding the spots smooth. I started with a low grit sandpaper and eventually worked my way up to a high grit sandpaper. You want to use the low grit sandpaper first to remove more material and get the shape you’re going for. Then you work your way down to a higher grit to smooth it out and give it a more finished look.
when to paint vs stain
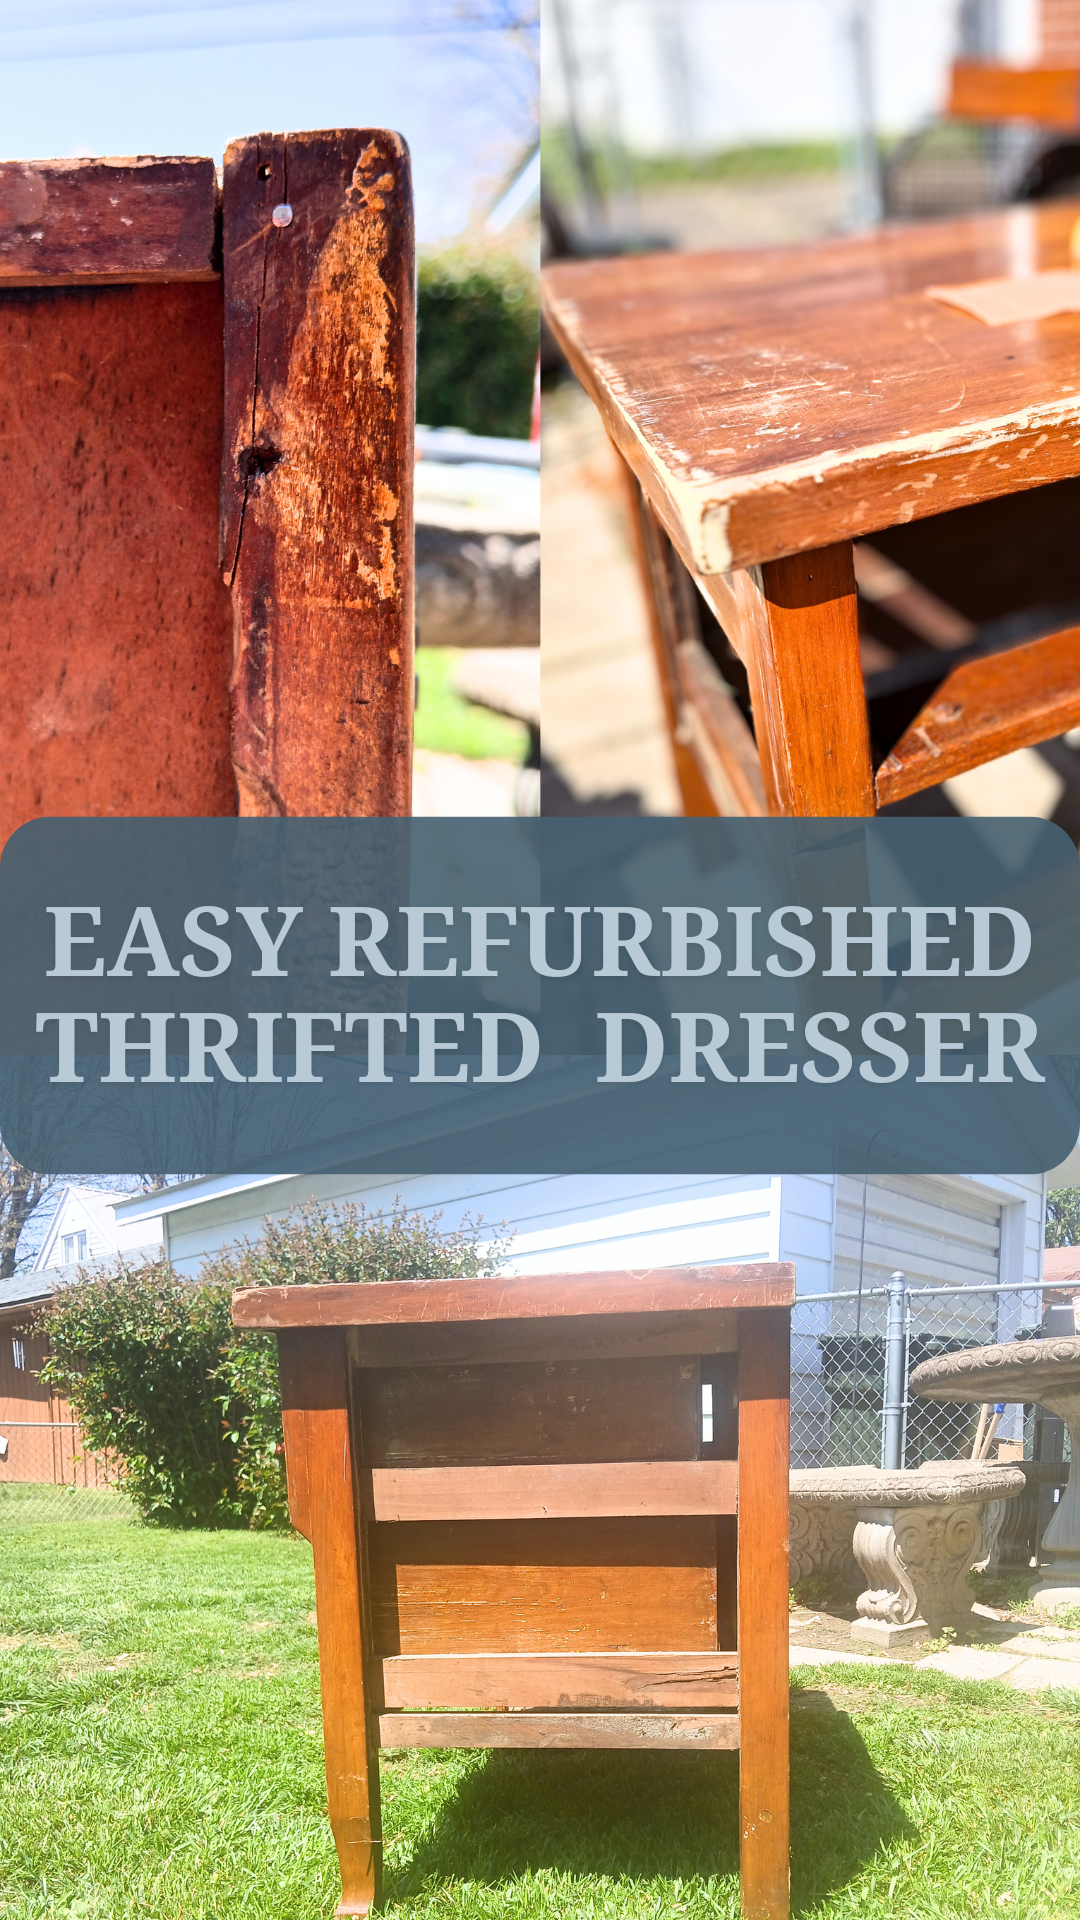
When bringing a piece back to life there are many different ways to refurbish it. If you’re lucky and have a piece that’s solid wood, you can always just sand it down and re-stain it. Sometimes though the piece may be too banged up and the need of wood putty comes in. That’s not a bad thing but most wood putty won’t stain the same color as the wood, so that’s where paint comes into play.
There are many different types of paint you can use for your refurbished projects, for mine I choose chalk paint. I didn’t want to have to worry about paining a primer layer, then to add multiple coasts of paint. Other paint options that I could have used was regular wall paint, milk, acrylic, and alkyd.
paint to your hearts content
I already knew the color I wanted for this project as soon as I laid eyes on it on Facebook marketplace. I was leaning towards a dark and moody color and as soon as I saw the original stain on the dresser, I knew what color would be best. Dark navy!!
The top and sides of the dresser where in too rough of shape to keep the original stain after I filled in all of the cracks, but the drawers of the dresser where in perfect shape. I then decided to paint everything on the dresser my dark navy blue and I would keep the drawers the color they were.
layers of paint
To ensure you get the best shade and cover you will need to paint at the very least two coats. Make sure to always read the instructions of paint you choose for your project. Each brand and type of paint can require different steps to achieve the best results. The chalk paint I used stated to paint one coat at a time and allow your piece to fully dry before painting the next coat.
Tip form me to you – be prepared to have to go back and buy more paint
Once the last layer of paint was applied, I left the dresser in my garage to dry. Trust me that was probably the saftest spot in my house to leave it. I was so excited and was absolutely in love with the color and how well it worked with the original stain. But I was not done yet.
we’re almost to the end – the final step before we can decorate
Make sure to do your research on what type of finishing coat you want to use for your project. I wasn’t sure if I wanted to use a polyurethane or a wax. I did know that I didn’t want too much of a shine for the finished look and I didn’t want it to yellow over time.
After looking into all of my options, I decided to use a Matte varnish from the brand Waverly. You can find different types of varnish in this brand at your local Walmart.
decorating an easy refurbished thrifted dresser
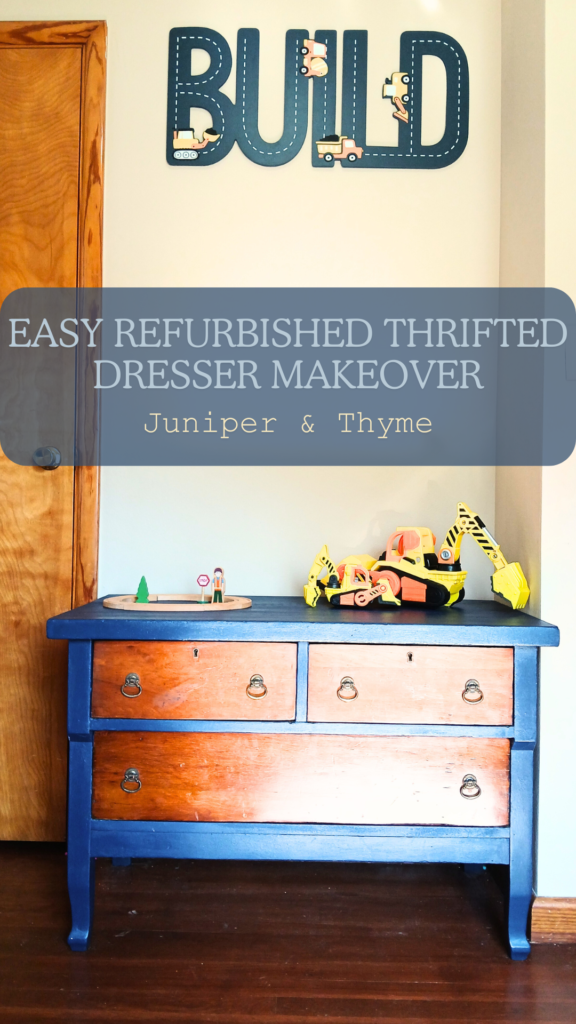
This was such a fun easy refurbished thrifted dresser makeover. The amount of excitement I had to finally put this dresser in my son’s bedroom was almost contagious. I’m telling you when I say it’s about the little things in life that make me so happy I’m not lying.
I found the perfect little nook in his room where the dresser fit in perfectly, it’s like the two were made for each other. Even though the spot for the dresser was perfect, the large blank wall above it was not as appealing.
While on one of my frequent little trips to the flea market I was able to find the cutest little wall decor that would just tie into this project flawlessly. The colors were almost an identical match and the theme really just in captured my son’s personality.

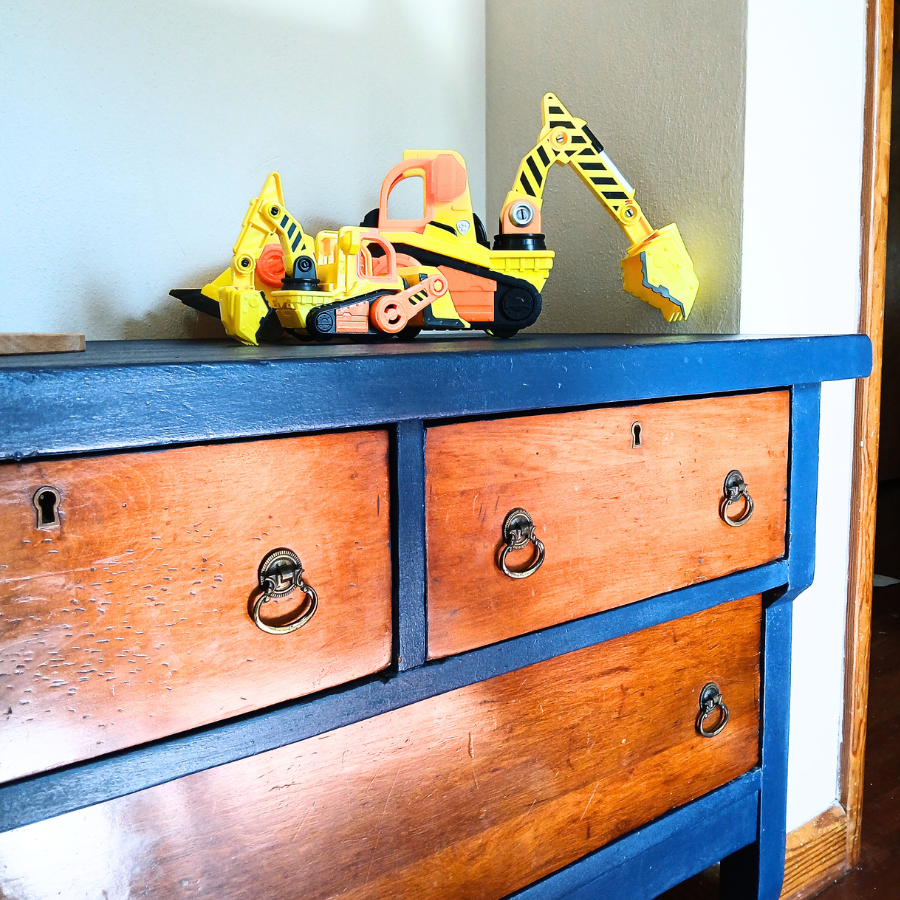
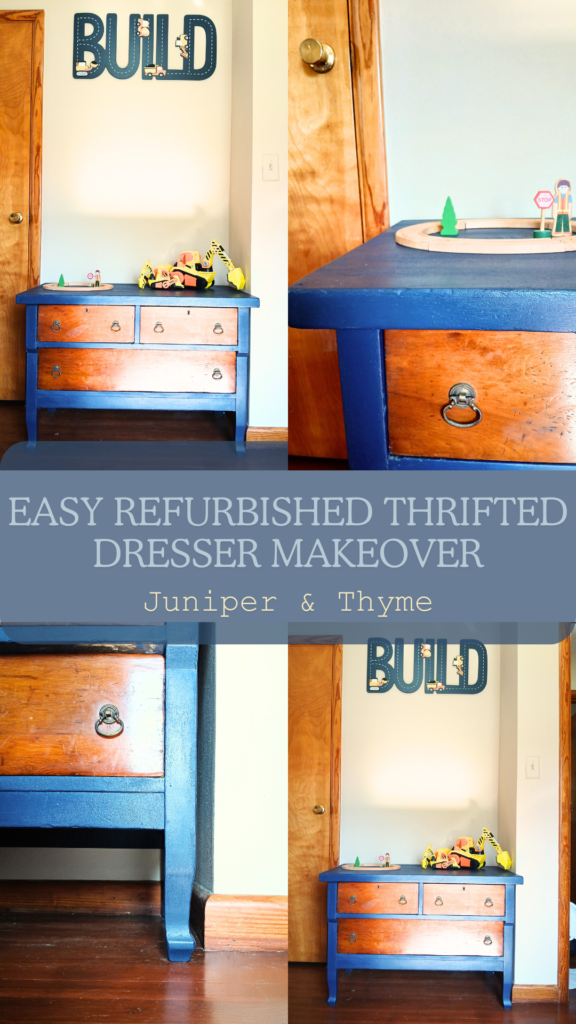
easy refurbished thrifted dresser makeover
I hope you enjoyed this little project as much as I did, I would like to even say my toddler had just as much fun watching the process. He was so engrossed in the refurbished makeover from the beginning to end. Then to see his little face light up when I placed the dresser in his room and decorated it with his toys was the cherry on top.
If you take anything form this post, I hope it’s that you can take any little daydream and turn it into a masterpiece. A furniture makeover doesn’t have to be a daunting task but can actually be a really easy refurbished project.
